기존의 데이터를 수정하는 기능을 추가하는 회차이다.
강의 내용을 참고하여, 아래의 코드를 작성하였다.
from flask import Flask, request, redirect


app = Flask(__name__)

# 새 데이터가 추가될 때 사용될 아이디를 저장하는 전역변수
nextId = 4

# 데이터베이스 역할을 할 리스트
topics = [
    {'id': 1, 'title': 'A', 'content': 'This is page A.'},
    {'id': 2, 'title': 'B', 'content': 'This is page B.'},
    {'id': 3, 'title': 'C', 'content': 'This is page C.'}
]


# 중복되는 부분을 함수화함
def template(content, id=None):
    contextUI = ''

    #
    if id != None:
        contextUI = f'''
        <p>
            <span>To update the data, click this:</span>
            <a href="/update/{id}">UPDATE</a>
        </p>
        '''

    str= '' # html 코드를 담을 문자열

    # for문을 사용하여 str의 내용을 만들기
    for topic in topics:
        str = str + f'<li><a href = "/read/{topic["id"]}/">{topic["title"]}</a></li>'

    # 리턴
    return f'''<!doctype html>
    <html>
        <body>
            <h1><a href = "/">Main</a></h1>
            <ol>
                {str}
            </ol>
            {content}
            {contextUI}
        </body>
    </html>
    '''


# 메인 페이지
@app.route('/')
def index():
    content = f'''
    <p>Welcome!</p>
    <p>
        <span>To add new contents, click this:</span>
        <a href="/create/">CREATE</a>
    </p>
    '''

    return template(content)


# A, B, C를 눌러 들어간 페이지
@app.route('/read/<int:id>/')
def read(id):

    content = ''

    for topic in topics:
        if topic['id'] == id:
            content = f'''
            <h2>{topic["title"]}</h2>
            <span>{topic["content"]}</span>
            '''
            break

    return template(content, id)


# 새로운 데이터를 추가하는 페이지
@app.route('/create/', methods = ['GET', 'POST'])
def create():
    # GET(읽기) 요청을 받은 경우
    if request.method == 'GET':
         content = '''
         <form action="/create/" method="POST">
            <p><input type="text" name="title" placeholder="title"></p>
            <p><textarea name="body" placeholder="body"></textarea></p>
            <p><input type="submit" value="create"></p>
         </form>
         '''

         return template(content)

    # POST(쓰기) 요청을 받은 경우
    elif request.method == 'POST':
        # 새 데이터에 부여될 id값 (전역변수) 준비해두기
        global nextId

        # 사용자가 적은 정보를 가져와 title, body, newTopic에 저장
        title = request.form['title']
        body = request.form['body']
        newTopic = {'id':nextId, 'title':title, 'content':body}

        # 본래의 데이터베이스 (현재의 경우 topics 리스트) 에 데이터 추가
        topics.append(newTopic)

        # 사용자를 데리고 갈 url을 생성
        url = '/read/' + str(nextId) + '/'

        # 다음 새 데이터에 부여될 수 있도록 id 값을 1 증가시키기
        nextId = nextId+1

        # 사용자를 url 화면으로 보내기
        return redirect(url)


# 기존의 데이터를 수정하는 페이지
@app.route('/update/<int:id>', methods = ['GET', 'POST'])
def update(id):
    # GET(읽기) 요청을 받은 경우
    if request.method == 'GET':

        thisTitle = ''
        thisBody = ''
        for topic in topics:
            if topic['id'] == id:
                thisTitle = topic['title']
                thisBody = topic['content']
                break

        content = f'''
         <form action="/update/{id}" method="POST">
            <p><input type="text" name="title" placeholder="title" value="{thisTitle}">
            </p>
            <p><textarea name="body" placeholder="body">{thisBody}</textarea></p>
            <p><input type="submit" value="update"></p>
         </form>
         '''

        return template(content)

    # POST(쓰기) 요청을 받은 경우
    elif request.method == 'POST':
        # 사용자가 적은 정보를 가져와 title, body에 저장
        title = request.form['title']
        body = request.form['body']

        # 데이터베이스 업데이트
        for topic in topics:
            if topic['id'] == id:
                topic['title'] = title
                topic['content'] = body


        # 사용자를 데리고 갈 url을 생성
        url = '/read/' + str(id) + '/'

        # 사용자를 url 화면으로 보내기
        return redirect(url)


app.run()
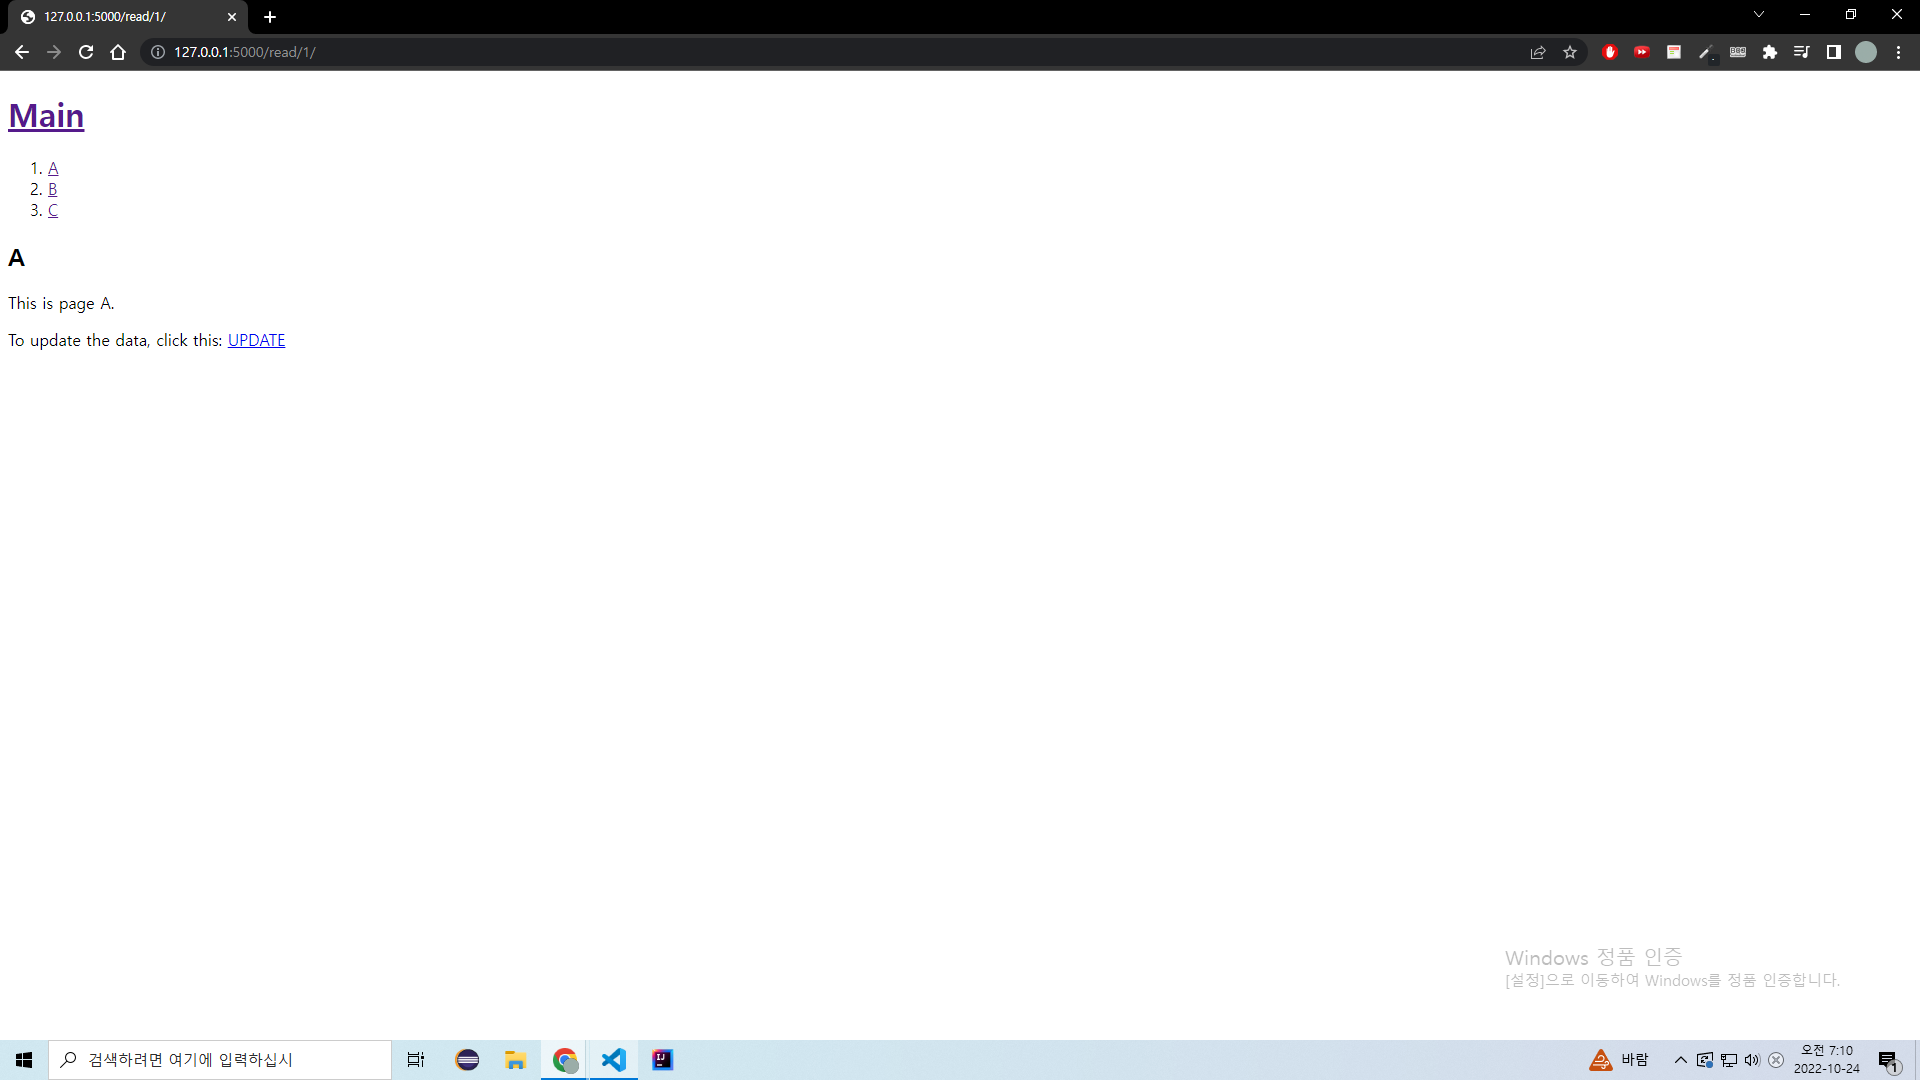
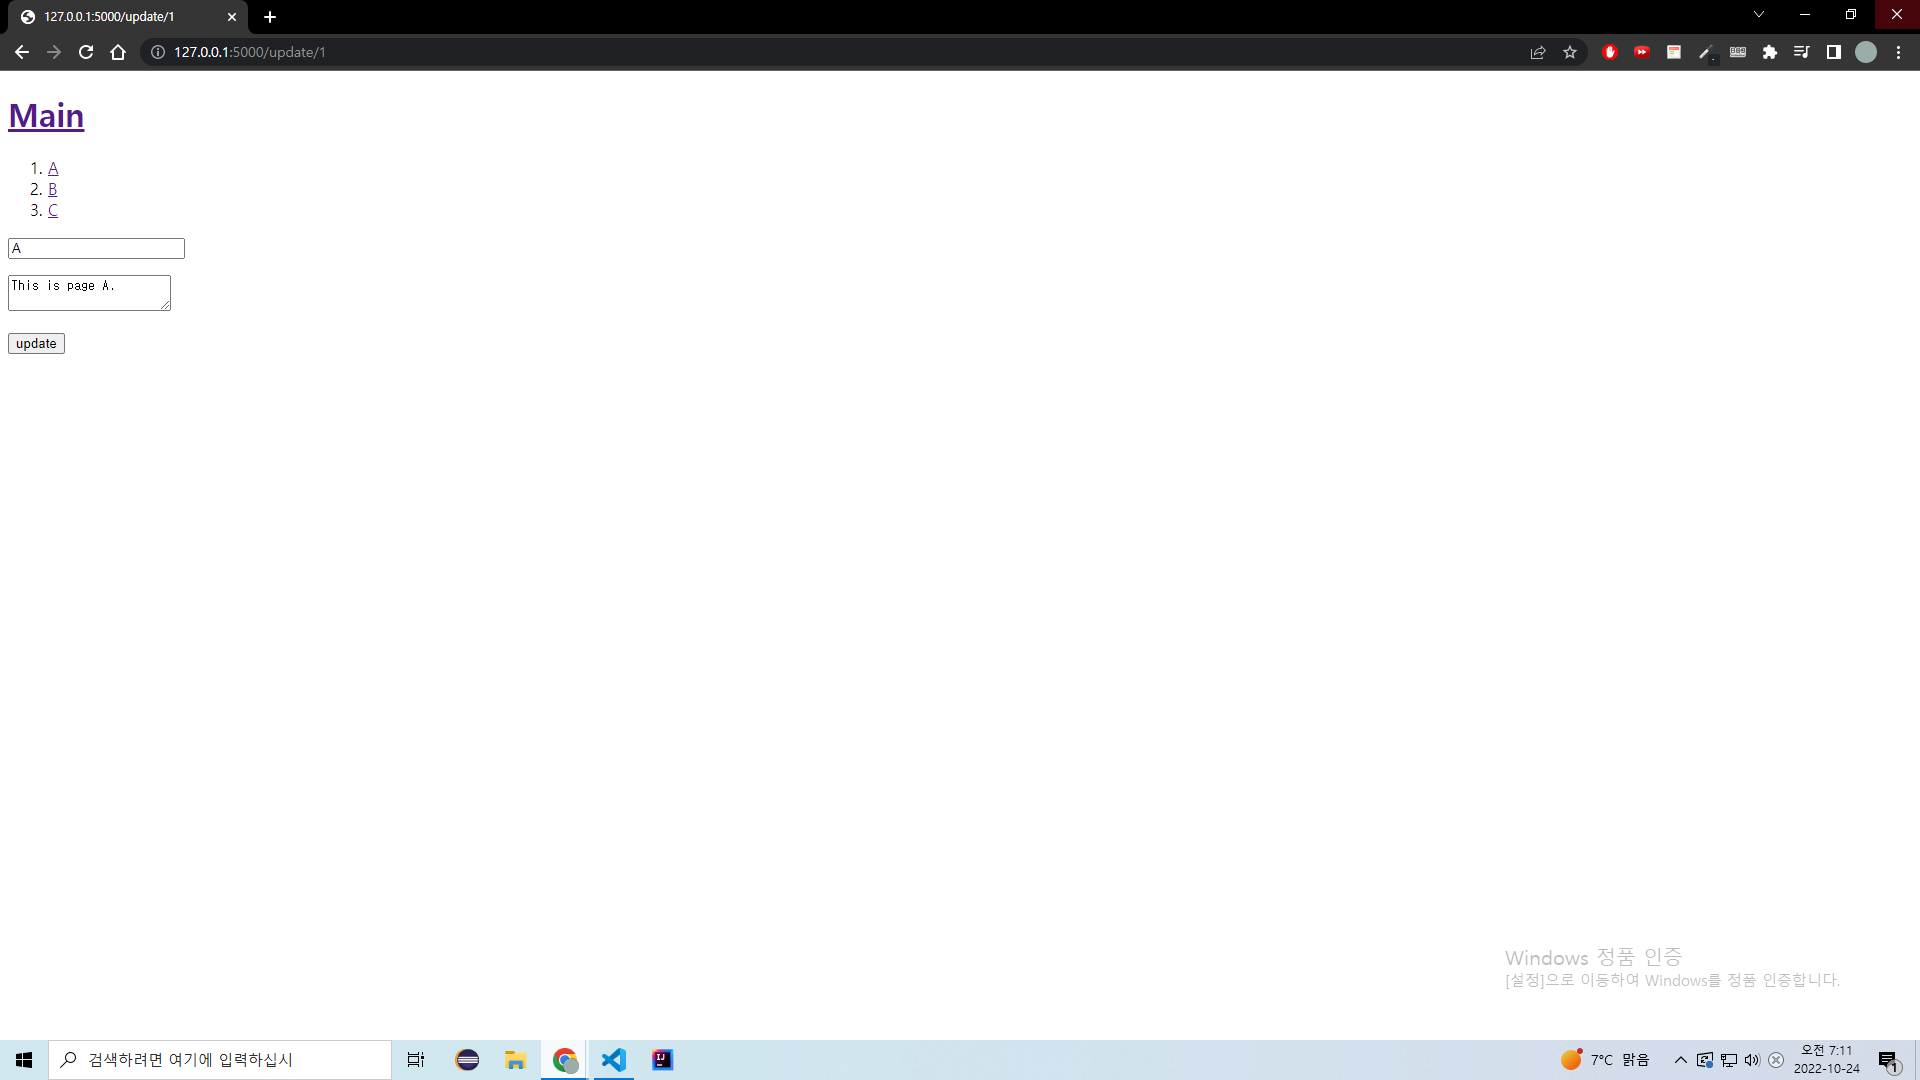
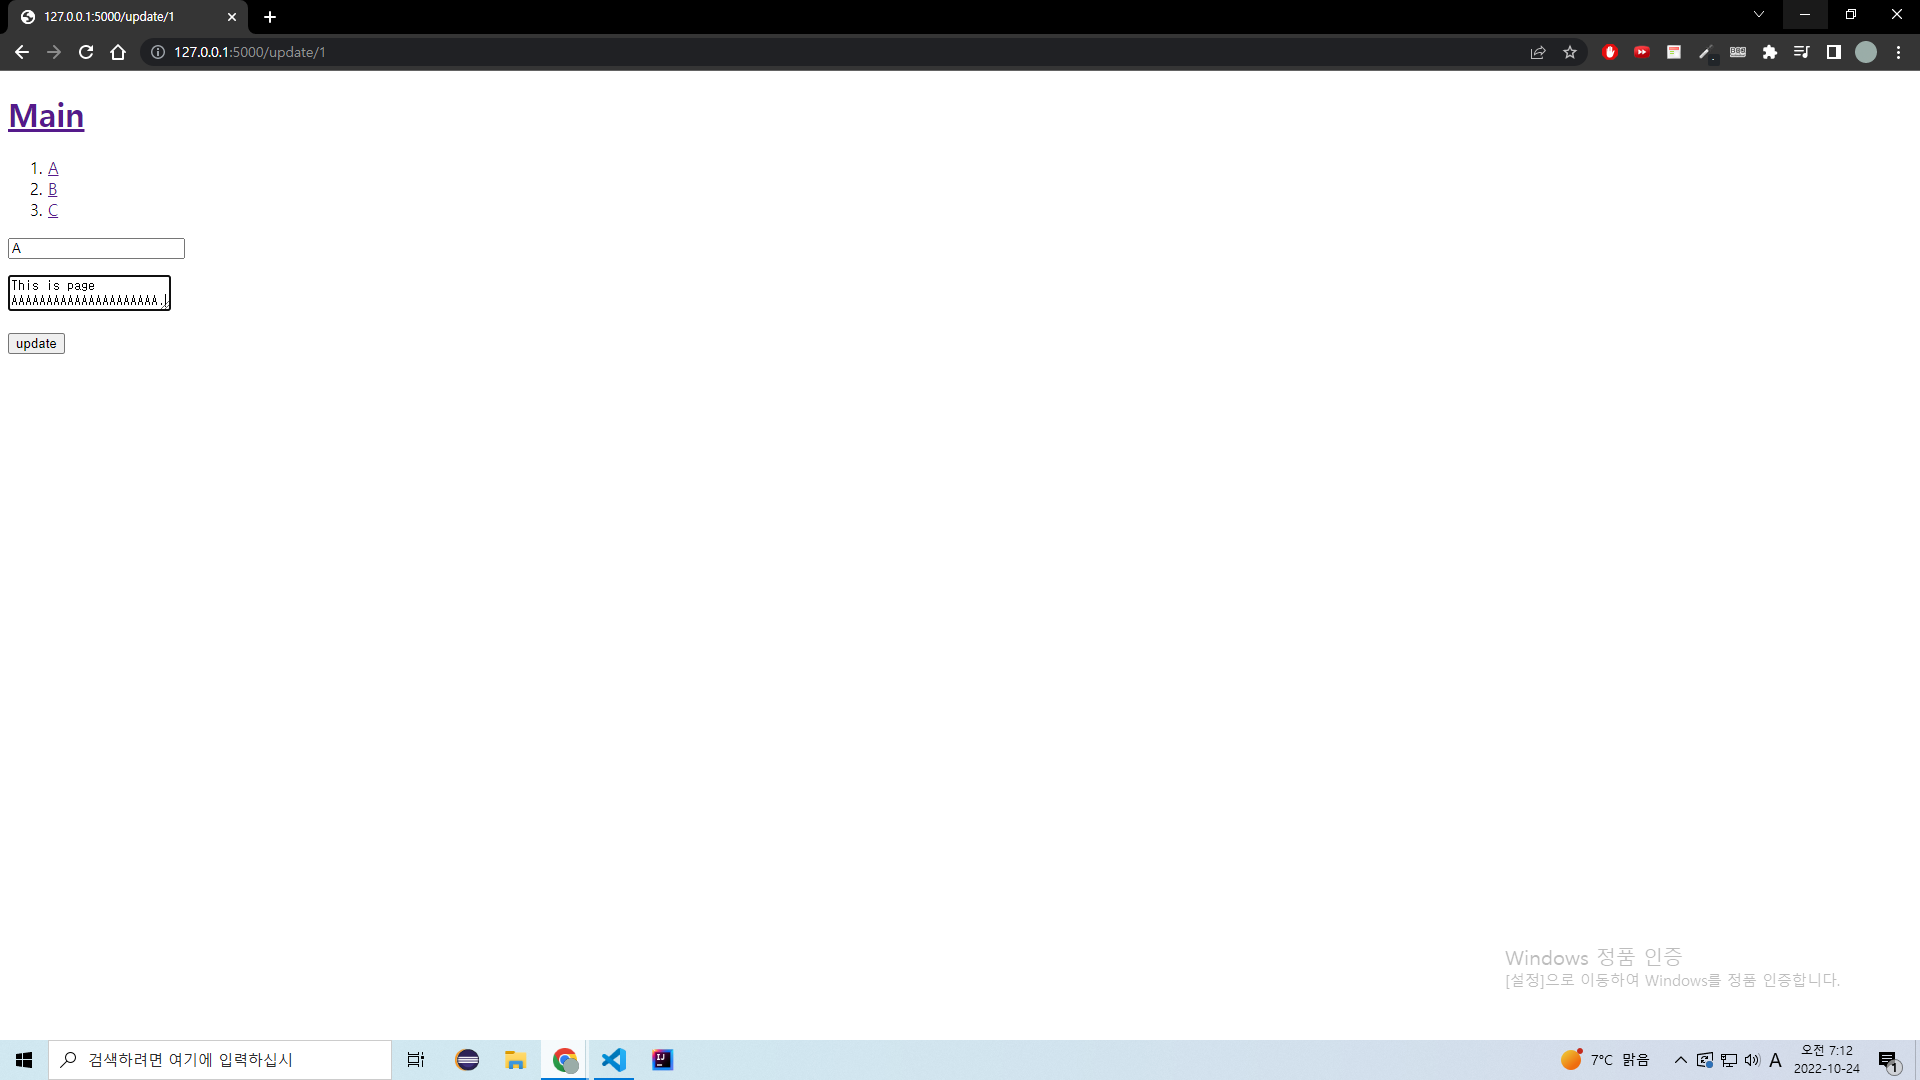
변경, 추가된 화면들을 실행한 모습은 다음과 같다.
1. read 페이지
UPDATE 버튼이 추가되었다.
2. update 페이지
현재 데이터가 표시된다.
3. 수정 후
아래와 같이 데이터를 수정해보겠다.
update 버튼을 누르면 아래와 같이 바로 read/{id} 페이지로 이동한다.
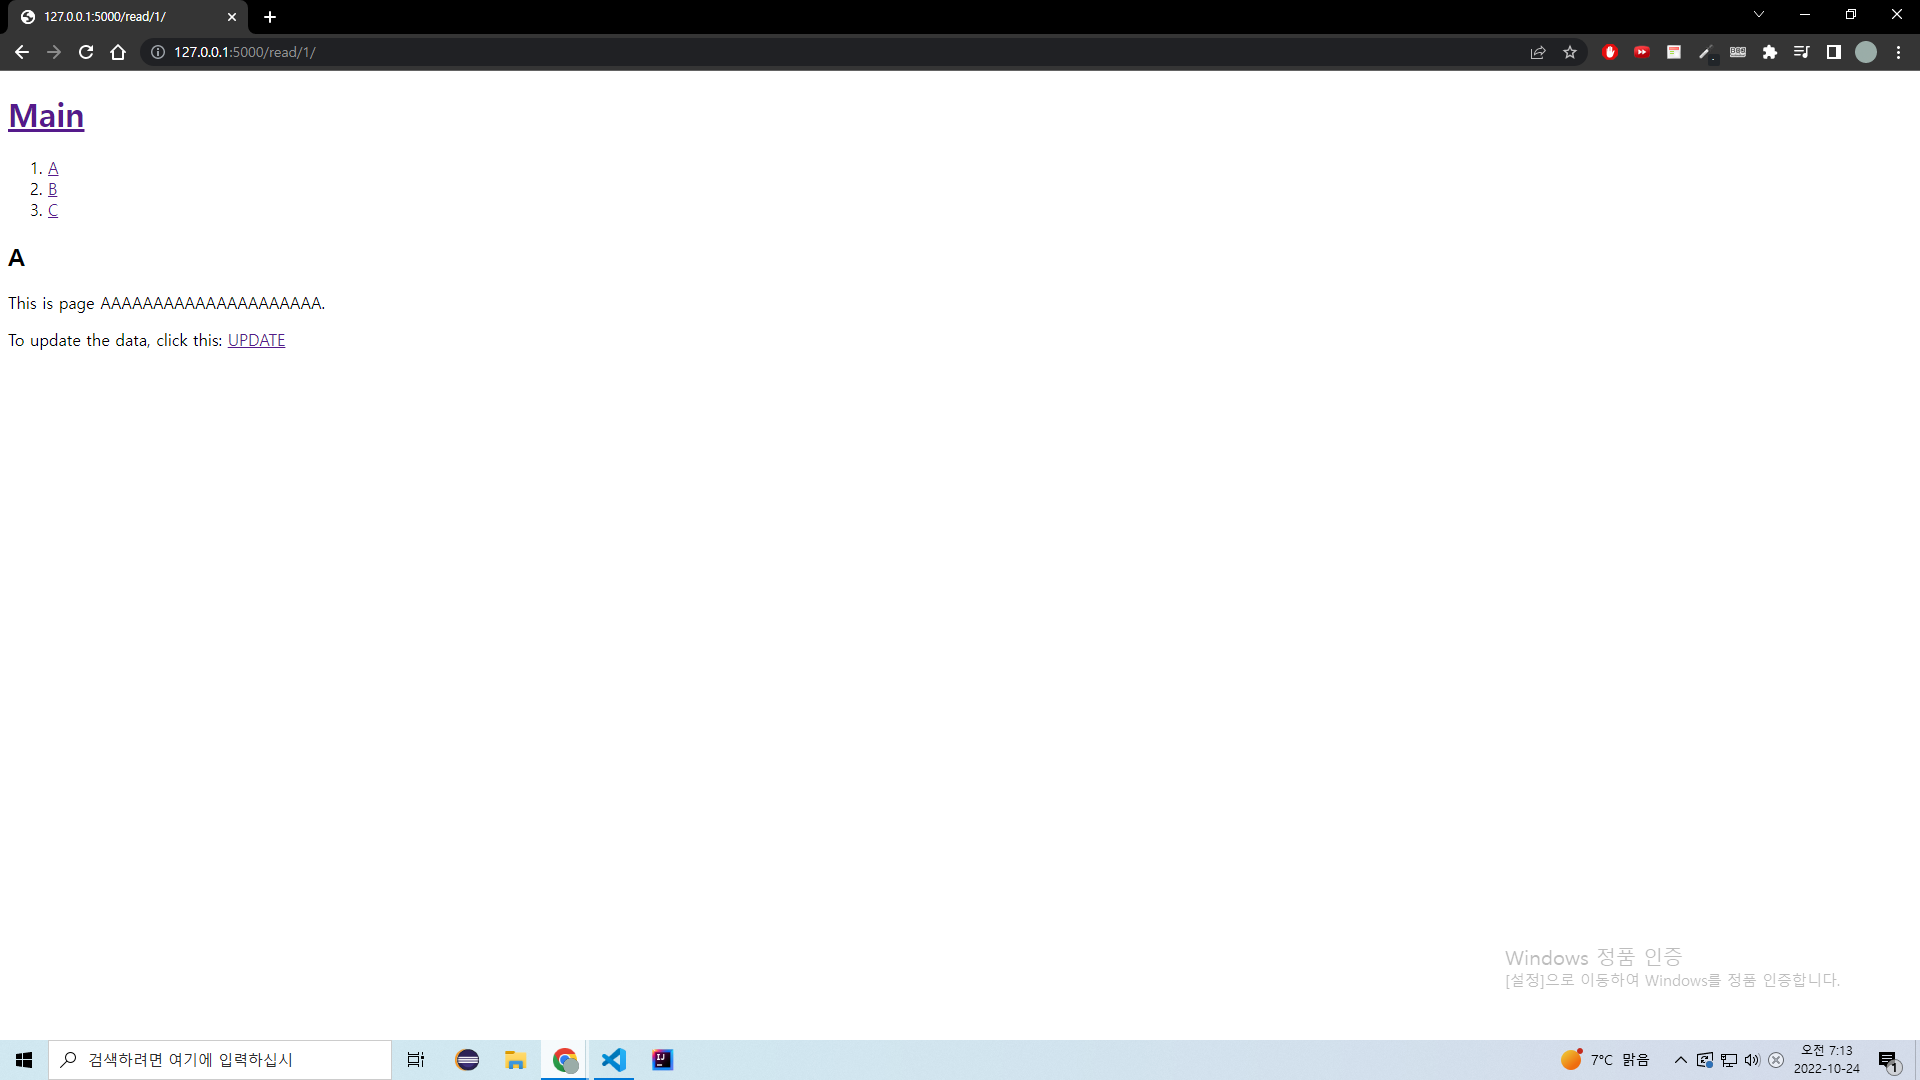
수정한 대로 데이터가 잘 표시된다.
'기타 공부 > 생활코딩 Python Flask Web Framework 노트정리' 카테고리의 다른 글
| 9. 삭제 (0) | 2022.10.24 |
|---|---|
| 7. 쓰기 (0) | 2022.10.24 |
| 6. 읽기 (0) | 2022.10.22 |
| 5. 홈페이지 구현 (2) | 2022.10.22 |
| 4. 라우팅 (0) | 2022.10.22 |